Lo sentimos, por el momento esta sección está disponible sólo en Inglés
Logo Animator Is Here
In this article, we're highlighting our Logo Animator. This is a fun, free feature that we've added to our existing Logo Design Tool. With it, you can bring life to any logo that's available on our website. We love using the Logo Animator here at FlamingText and have come up with a variety of cool animation styles that are available for you to personalize. You'll also find it easy to create your own styles. Follow our tutorial below and you'll be making awesome animated effects in no time.
Create Your Own Animated Logo
Join us in creating a simple I HEART FT animation. This will introduce you to the basic steps involved in creating an animated logo. Here's a preview of the animated logo that will be produced at the end of this tutorial so that you have an idea of what's in store ...
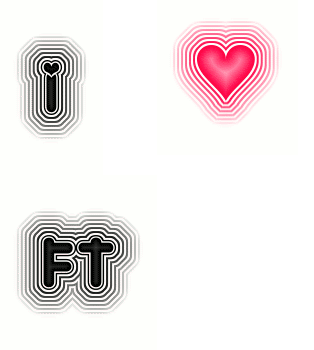
Figure 1. I HEART FT Animated Logo
An animated logo is created from a set of frames, each frame containing a still logo image. The animated effect is achieved by displaying the frames quickly one after another in a particular order. The I HEART FT animation that we will be creating in this tutorial is made up of three frames. We'll now show you how to go about setting up the frames for this animation.
Select the base logo style for the animation
Typically, an animated logo will feature a base logo style which is the logo style on which each frame is built on. The base logo style for the I HEART FT animation is the Alien Neon logo style.
- Select Glow category from the Logos menu on the FlamingText home page. This opens the Glow Logos category page. Another way to access this page is via the Logo Categories box.
- Select the Alien Neon logo style. This opens the Alien Neon logo properties page where the logo style can be customized.
Customize the base logo style
In this step, we modify the properties of the base logo style to achieve the look that we desire for our animated logo. Each of the frames in the I HEART FT animation will be based on this new look.
On the Alien Neon logo properties page, change the properties listed below to the values specified.
- Change the Font property to Kinkie font
- a. Click on the font preview area to open the Select Font popup window
- b. Type 'kinkie' in the Font Search Field
- c. Click on Kinkie in the search results to select this as the font
- Change the Text Color property to a black color
- Change the Background Color property to a white color
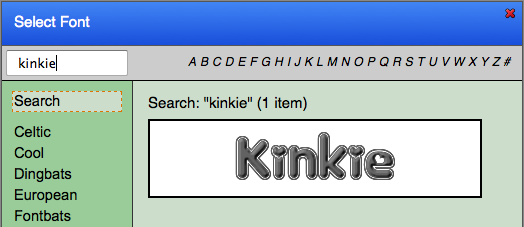
Figure 2. Select Font Window
Open the Logo Animator in custom animation mode
It's now time to use the Logo Animator. We will be using it in custom animation mode (as opposed to predefined effects mode).
- Click on the blue Animate icon next to the Logo Text property. A drop-down list will appear containing animation options.
- Select Animate from the drop-down list. The logo style will open in the Logo Animator ready for custom animation. The other options in the drop-down list will apply a predefined animated effect to the logo style when it is opened in the Logo Animator.
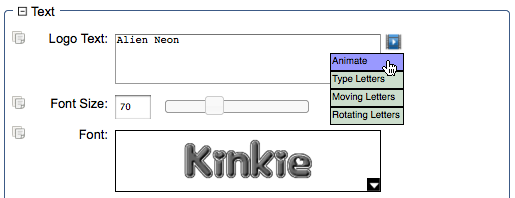
Figure 3. Animate Button
Add animation frames
When the Logo Animator is first opened in custom animation mode, it will consist of a single frame. The frames associated with the animation are listed just below the logo preview image under the 'Add frame' button.
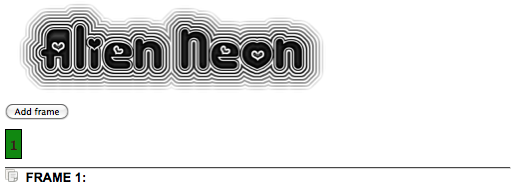
Figure 4. Animator with a Single Frame
To create an animation you need more than one frame. Let's now add two additional frames.
- Click on the 'Add frame' button to create frame 2
- Click on the 'Add frame' button again to create frame 3
You should now see three frames associated with the animation. Notice the little 'x' associated with each frame. Clicking on the 'x' will remove the particular frame from the list.

Figure 5. Animator with Three Frames
Set up animation frame 1
We will now style the logo image for frame 1.
- Click on frame 1
- Change the value of the Logo Text property to I
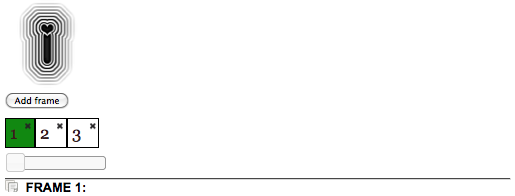
Figure 6. Frame 1 Styling
Set up animation frame 2
We will now style the logo image for frame 2.
- Click on frame 2
- Change the Font property to 4ye0val font (use the Font Search Field in the Select Font popup window)
- Change the value of the Logo Text property to A (this maps to a heart in 4yeoval font)
- Change the Text Color property to a red color
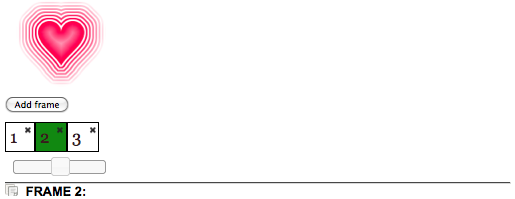
Figure 7. Frame 2 Styling
Set up animation frame 3
We will now style the logo image for frame 3.
- Click on frame 3
- Change the value of the Logo Text property to FT
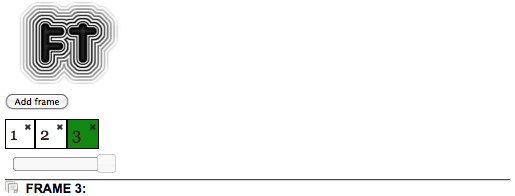
Figure 8. Frame 3 Styling
Generate the animation
Now that we have our frames all set up, let's generate the animation.
- Scroll to the bottom of the page
- Click the Generate Animation button - a page will be displayed containing the animated logo
Edit the animation
Let's slow down the animation a bit by adjusting the frame speed.
- Click Edit Logo on the page containing the generated animated logo
- Open the Frame Properties panel
- Change the value of the Sleep property to 500 (equivalent to 0.5 seconds)
- Click on the 'Copy value to all frames' icon to the left of the Sleep property to apply the sleep value to all frames
- Click the Generate Animation button

Figure 9. Copy value to all frames Icon